Pavalino Construction steps
I have tried to list the steps and construction details for how we
sewed our the pavalinos.
1)We sewed all the roof wedges together first. Flat fell seams. We have found that the flat fell seams provide more than adequate strength. Here are construction instructions on how *we* sew flat fell seams.
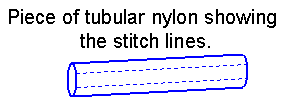
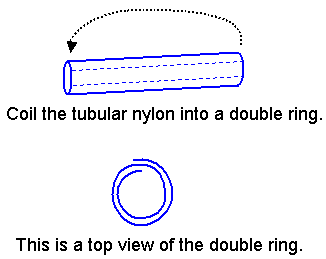
| 2) We then sewed a small double ring of 9/16" tubular nylon.
9/16" tubular nylon has a breaking strength of 1500 lbs. When combined in a
double ring, it exceeds 4000 lbs. One source of tubular nylon is Para-Gear.com or from the
John Howard Company . |
 |
 |
 |
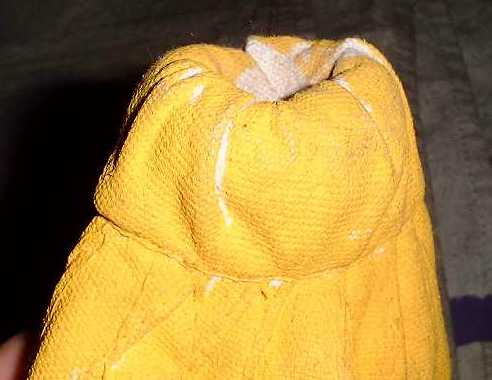
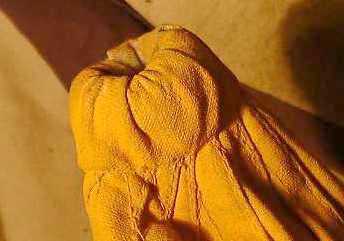
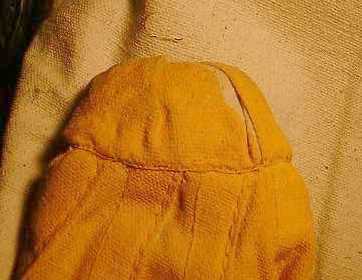
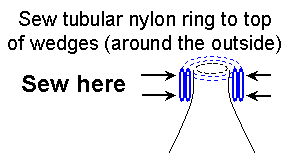
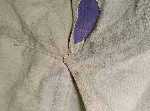
This double ring of tubular nylon was put at the
top of the roof section, around the outside of the roof wedges and stitched down (by
hand). |
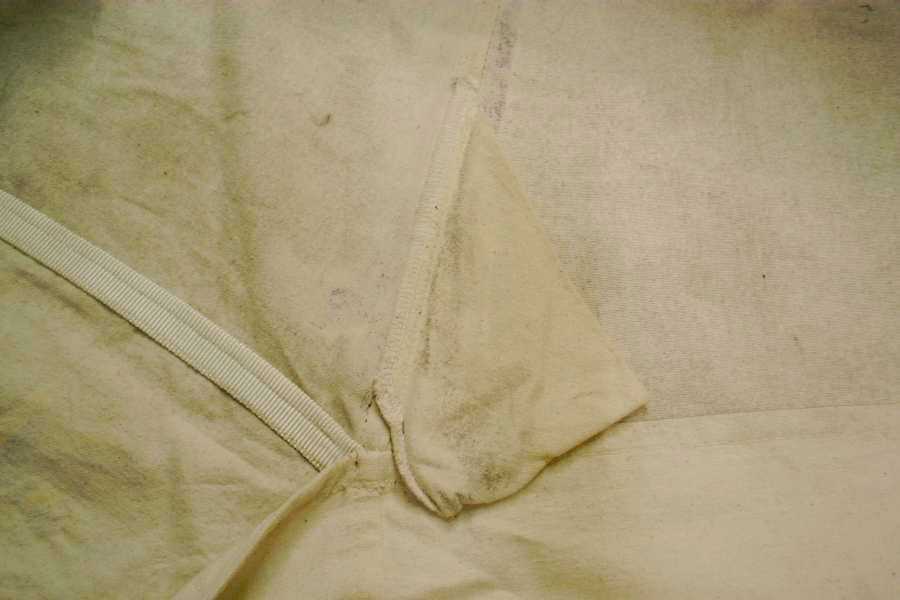
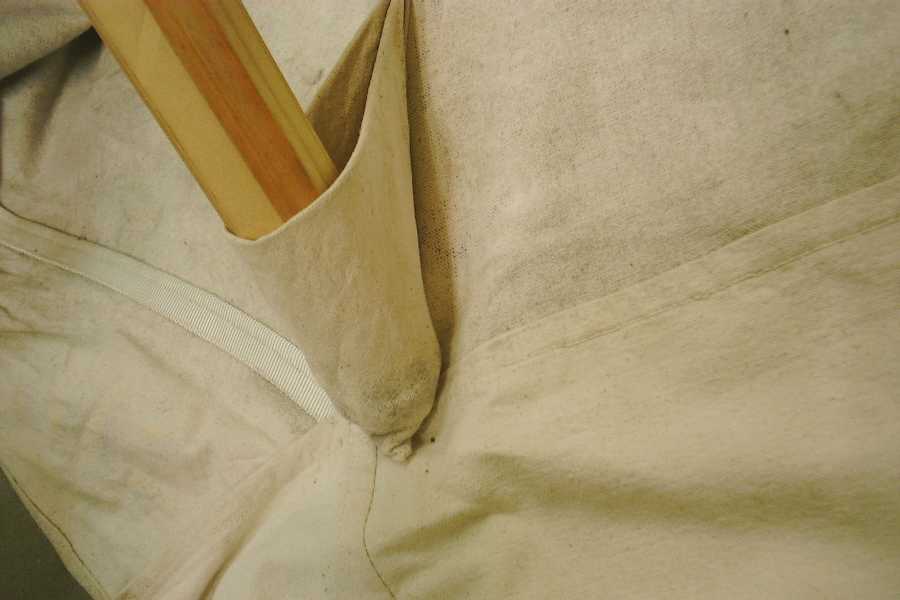
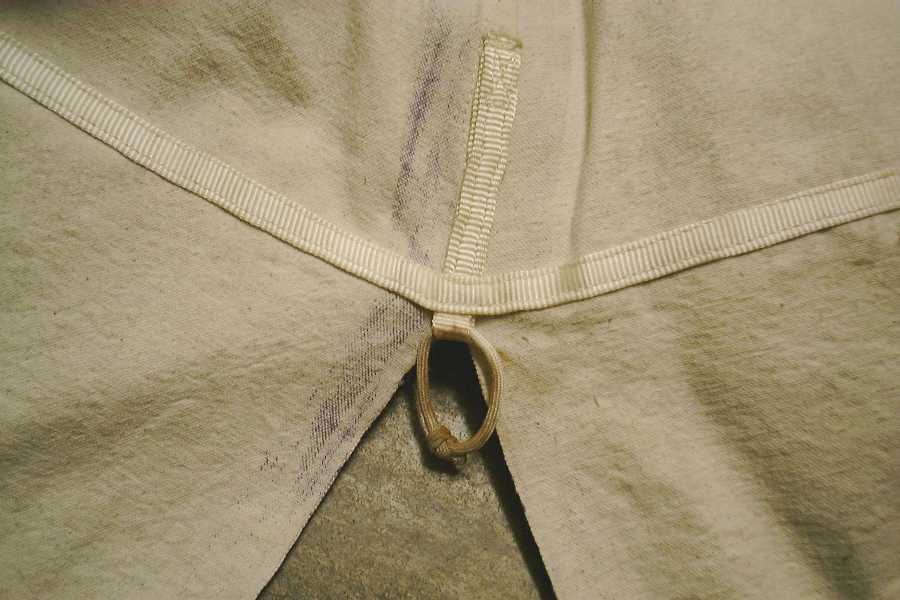
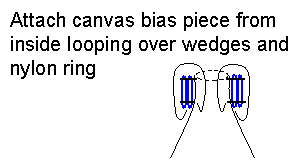
| We then sewed another piece of canvas (cut on the bias) to the inside of the roof wedges, running out over the tops of the roof wedges, over the nylon ring, and sewed
down on the outside. The spike at the top of our center pole goes through the hole at the top of the wedges and this ring of tubular nylon prevents that hole from every
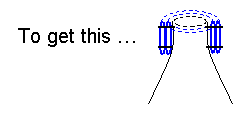
ripping, enlarging, or otherwise coming off the top of the pole. Below are some thumbnails of the top, showing the canvas ring stitched over the nylon ring and roof
wedges. |
 |
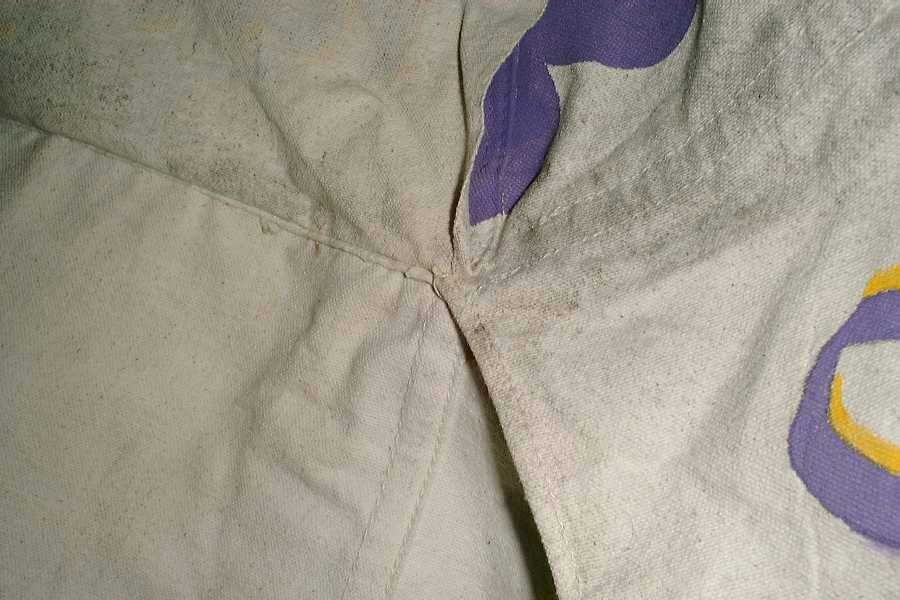
3) Because we have doors on both the front and rear, we have two wall sections, one on each side. Each wall has a door piece, 5 side wall pieces, and another door piece. (Our doors are two pieces that overlap.) This covers half of the pavalino.
We sewed one half of the walls together (door piece, 5 walls, door piece).
Again, flat fell seams. Now, we positioned this on the roof piece, and sewed the WALL sections (not the doors) to the roof. This time we used a wall-to-roof seam that is
similar to, but not actually, a flat fell seam. See
our seam instructions.
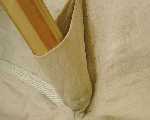
| 4) We repeated the process for the other half. Here is a shot of the details of the attachment. Click on the thumbnail for the full size photo.
On the left side in the photo, it shows the underside of the flap, showing the fold of wall as stitched down (you can see a small bit sticking out). On right side, the flap is down and shows the dual row of stitching on the outside of the wall-roof seam. |
 |
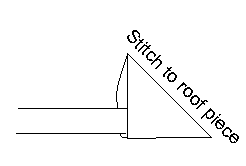
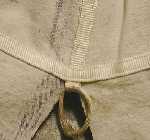
| 5) We sewed the pockets and sewed these in. For the first several years, we used a significant change (in the "shape" of the spoke pocket) from Master Dafydd's design. If you read his article and compare to my picture below, you will see that I changed the 'sew shut' and 'leave open' sides of the final triangle. |
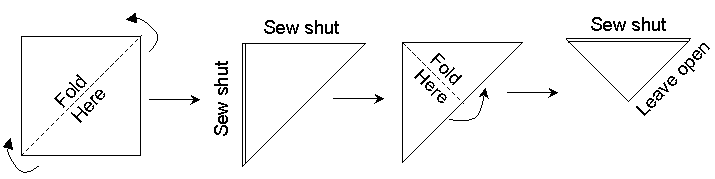 |
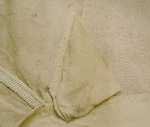
This resulted in a "horizontal" bottom of the pocket, which encouraged the spokes to remain in place. Here the pocket is shown turned and stitched into the pavilino, with a spoke inserted.
We now use the spocket pocket design detailed in the revised article by Dafydd's apprentice (Lady Sorcha). The article is accessible from the main pavilion page.
|
 |
 |
 |
Inside showing spoke pocket
as attached |
Same spoke pocket showing spoke |
6) We created canvas loops and toggles and attached those. The canvas
loops are simply small tubes of canvas turned inside out. See
toggle details here.
| 7) We then sewed stake loops of the tubular nylon that stick out between each
set of bottom flaps. We then tie a small piece of nylon cord through the tubular
nylon loop, and actually use that cord as the loop the stake goes though. We then
sewed tubular nylon all the way around the bottom on the inside (at the top of the ground
flap). This prevents stretching the canvas or ripping the flat fell seams at the
flap joint, when pulling it tight as you stake it out. |
 |
Return to pavilion page ...