Break down "panel" chests

Using the plans, developed by Master Robyyan Torr d'Elandris, and published as an article "A Pair of Transportable, Take down Boxes", I made a set of break down boxes.  The boxes are incredibly useful and look like panel chests, yet come apart to stack flat.  They are made from plywood and 1x4s.  

Master Dafydd ap Gwystl wrote a very useful general overview of Medieval Chests, 800-1600, which was part of my original inspiration on chests.  Both articles can be downloaded (in Word 97 format) from the library.


Master Robyyan's article provides all the details, and the list of required materials, but I wanted to provide some additional photos of how the boxes look finished, how much space they have, and some assembly photos that may help if you find the article unclear. 

Both chest stacked up

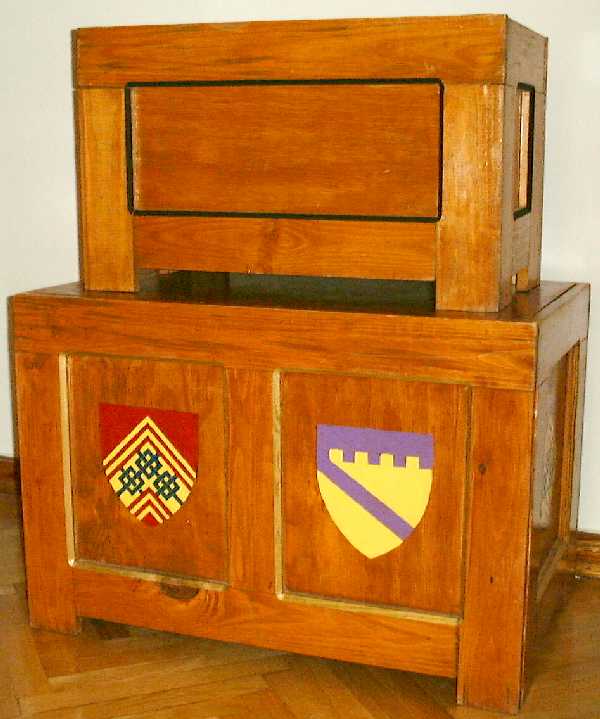
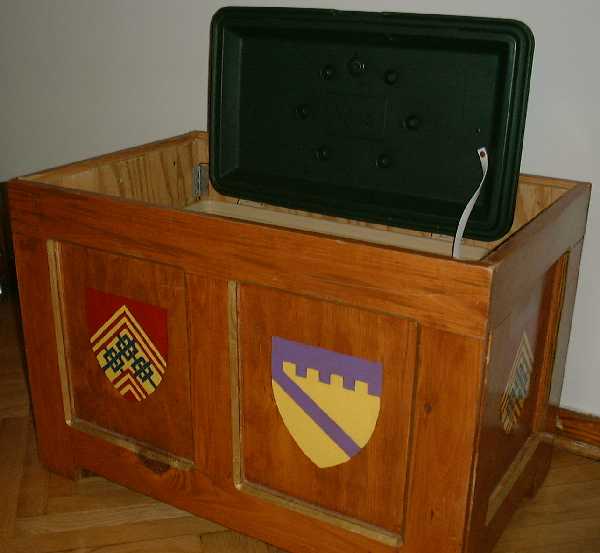
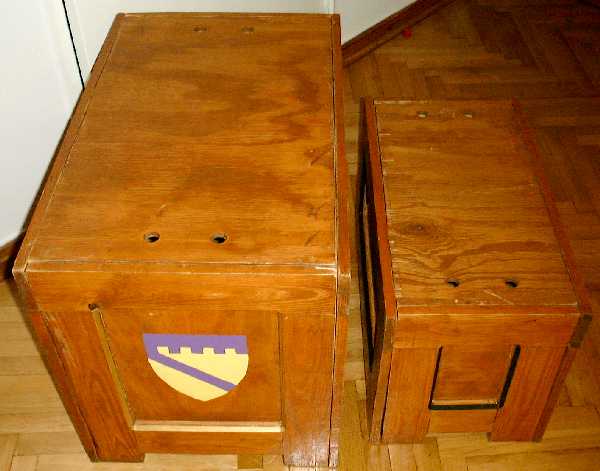
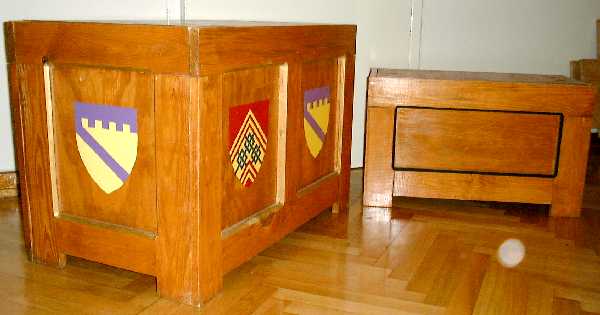
My two boxes assembled and ready.  Here you can see that I used a router and angled the edges on the inside around the "panels", which I then painted gold (on the large chest) and black (on the small).  We painted our arms and then stained and finished the boxes.  


These chests breakdown and transport flat.   You can see here that the pieces for the large chest, when stacked up, are not quite 6" high, and only 30" x 22" in area.   Large chest pieces stacked flat
The chests are quite roomy.  I use the large one to store (hide) my good cooler, and there is still left over space for storage of dry items.  


The critical part of making these chests is understanding how the sides come apart and how the wood is assembled and sits.  

The plywood that makes up the "panels" must be cut, but how much is different depending on whether the pieces is an end piece or a front/rear side.  You can see in the picture on the right that the side piece is cut down the width of the 1x4, and the end piece is cut down the width of the plywood.  


The sides of the chests are held together with hinges and pins.  

Having removable pins makes it easy to assemble and disassemble the boxes.  By using coat-hanger pins, we find that you have a little more play and don't have to line the hinges up exactly, can easily take the pins out, as well as being able to easily replace pins when you lose them. 


The bottom rests on a small lip (or cleat) which can be seen in the right photo above.

The corners of the bottom are cut off.  This makes it much easier to get the bottom in and out, yet the bottom still "locks" the sides in place and makes the box very solid. 

Here you see the bottom ready to be dropped into place (on the left), and the assembled box (on the right).


Here you see the other variation of my boxes.  Master Robyyan uses simple rope handles to lift off the lid, and I simply use the holes.

I also put two reinforcing strips on the bottom of the lid because I used 3/8" plywood. 


Return to the Greydragon Furniture collection