 |
 |
|
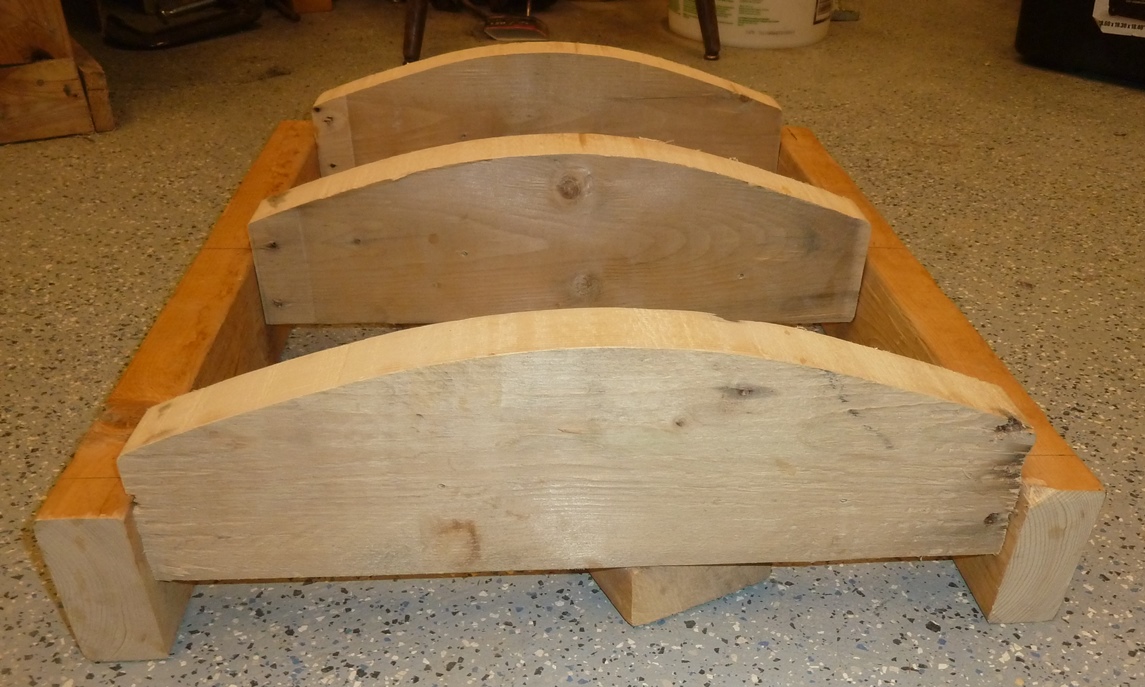
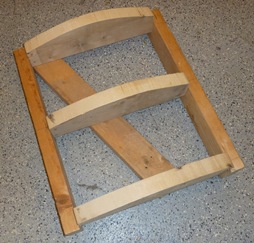
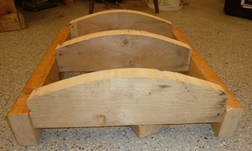
Here is a shield press that is easily constructed with some 2x6s and 2x4s. (472kb)
A 55-gallon drum works equally well.
|
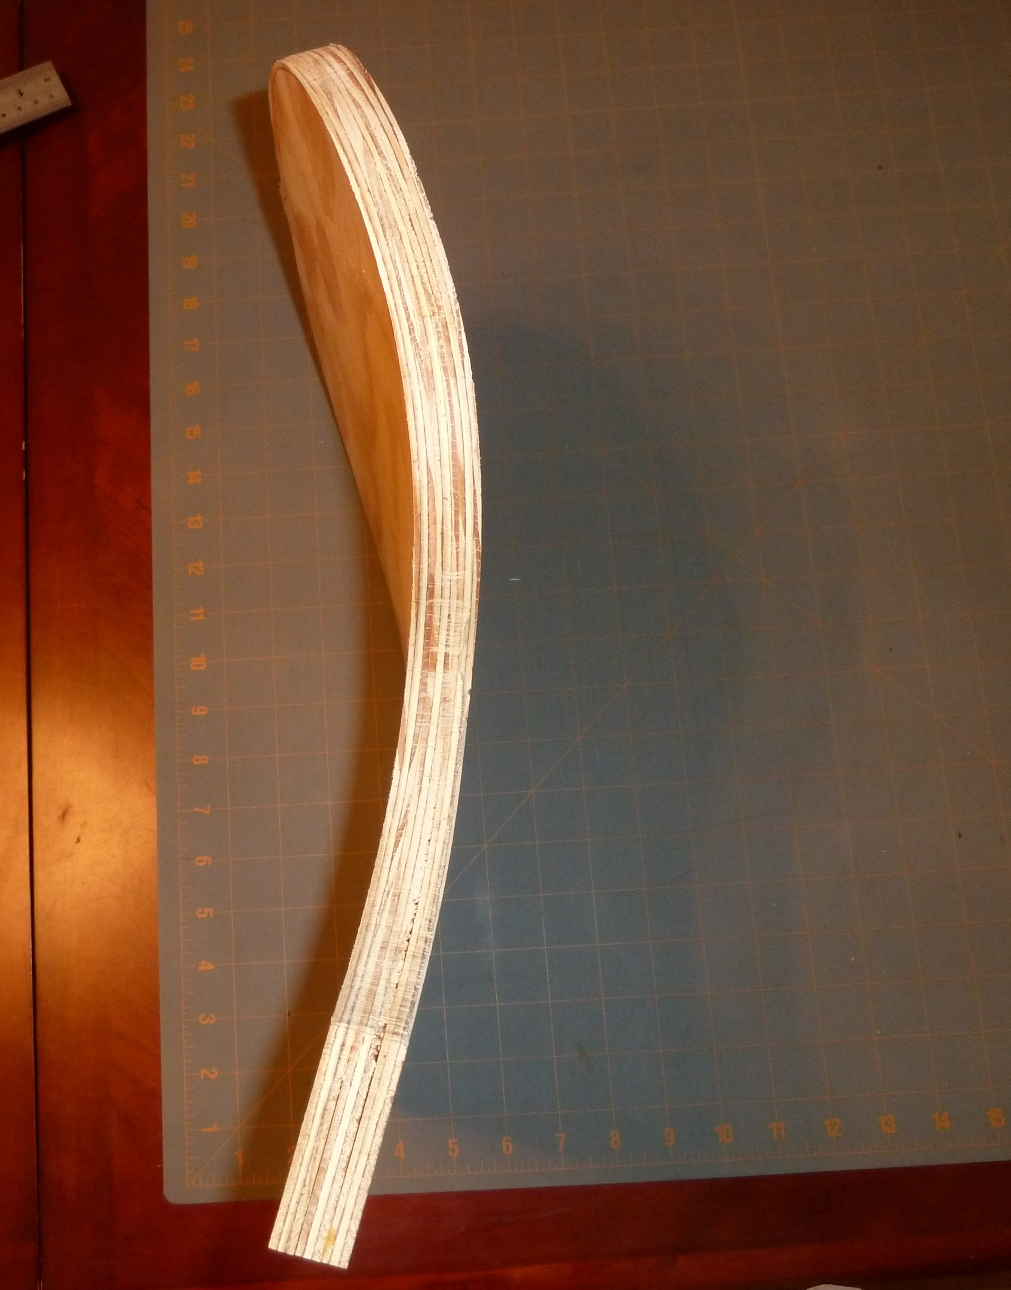
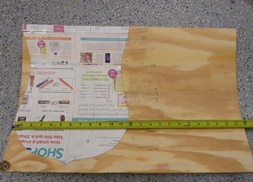
You will need to decide the amount of curve you want.
The top of my curve is 2-1/2" above the outside edge. (306kb) |
|
 |
 |
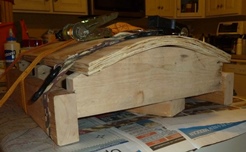 |
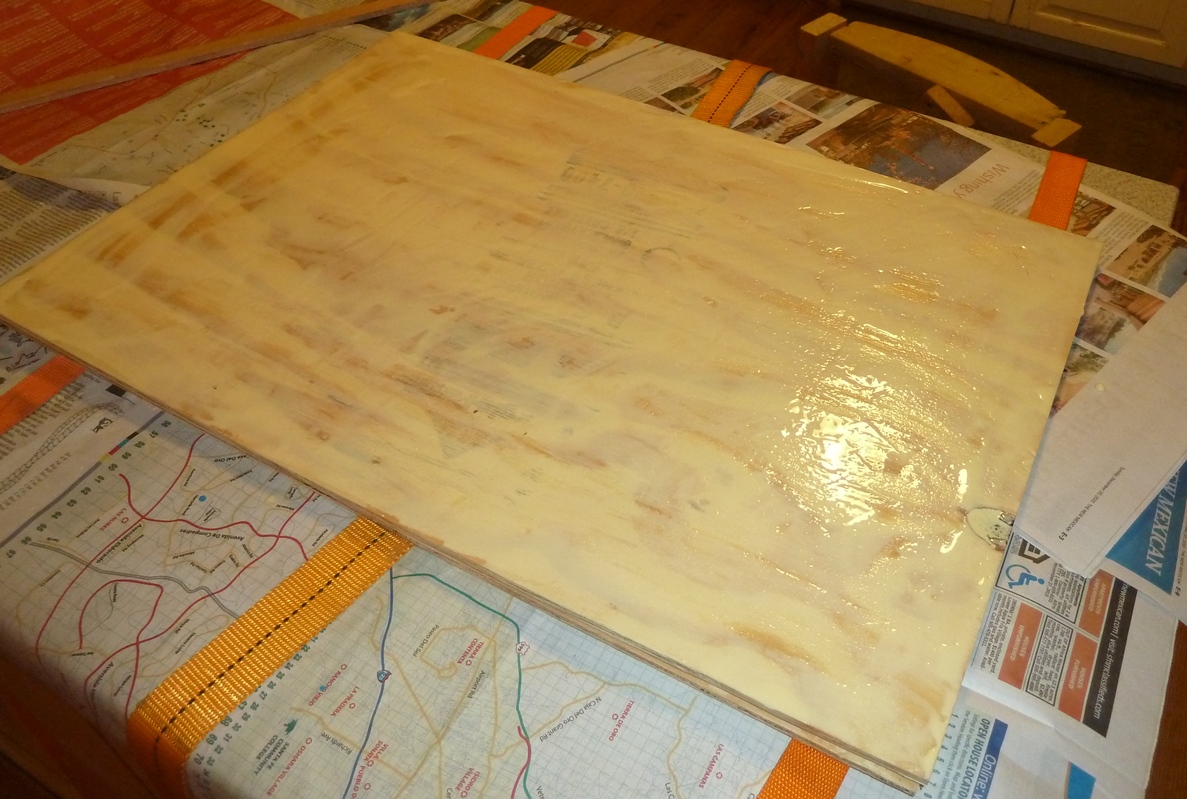
Spread wood glue on the layers of plywood.
This happens to be layer two, and the third layer will go on top of this. (397kb) |
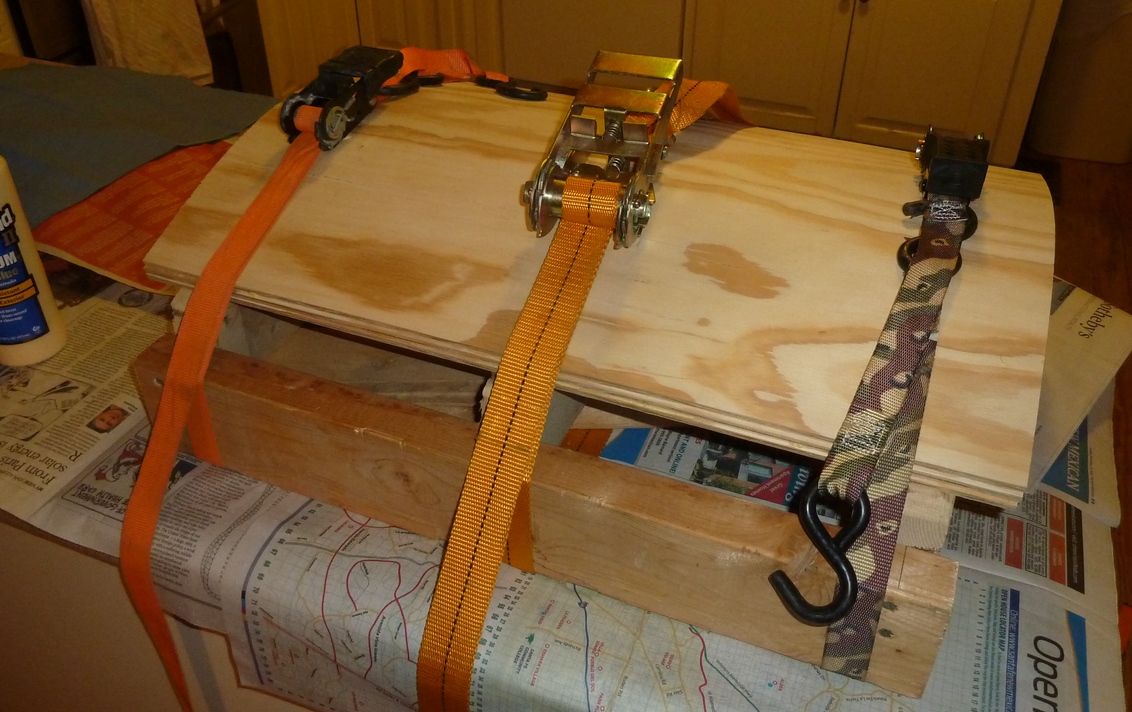
Place the layers on top of the press and clamp them down.
A set of ratchet straps works well for this. (356kb)
|
Ratchet them down securely so the layers curve and are tight to the press. Allow this to dry approx 24 hours. (368kb)
NOTE: Notice how the 2x4s on the outside are attached below the edge of the 2x6 so the ratchet straps can clamp the plywood down to the edge.
|
 |
 |
 |
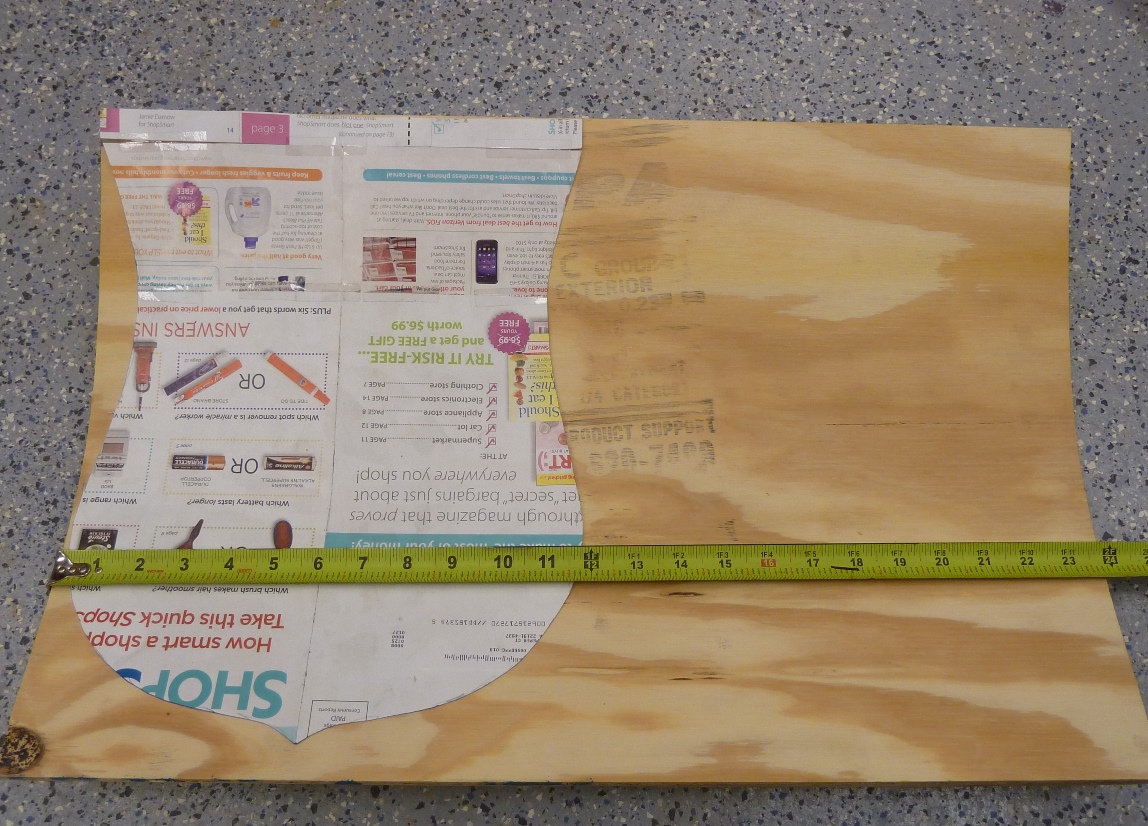
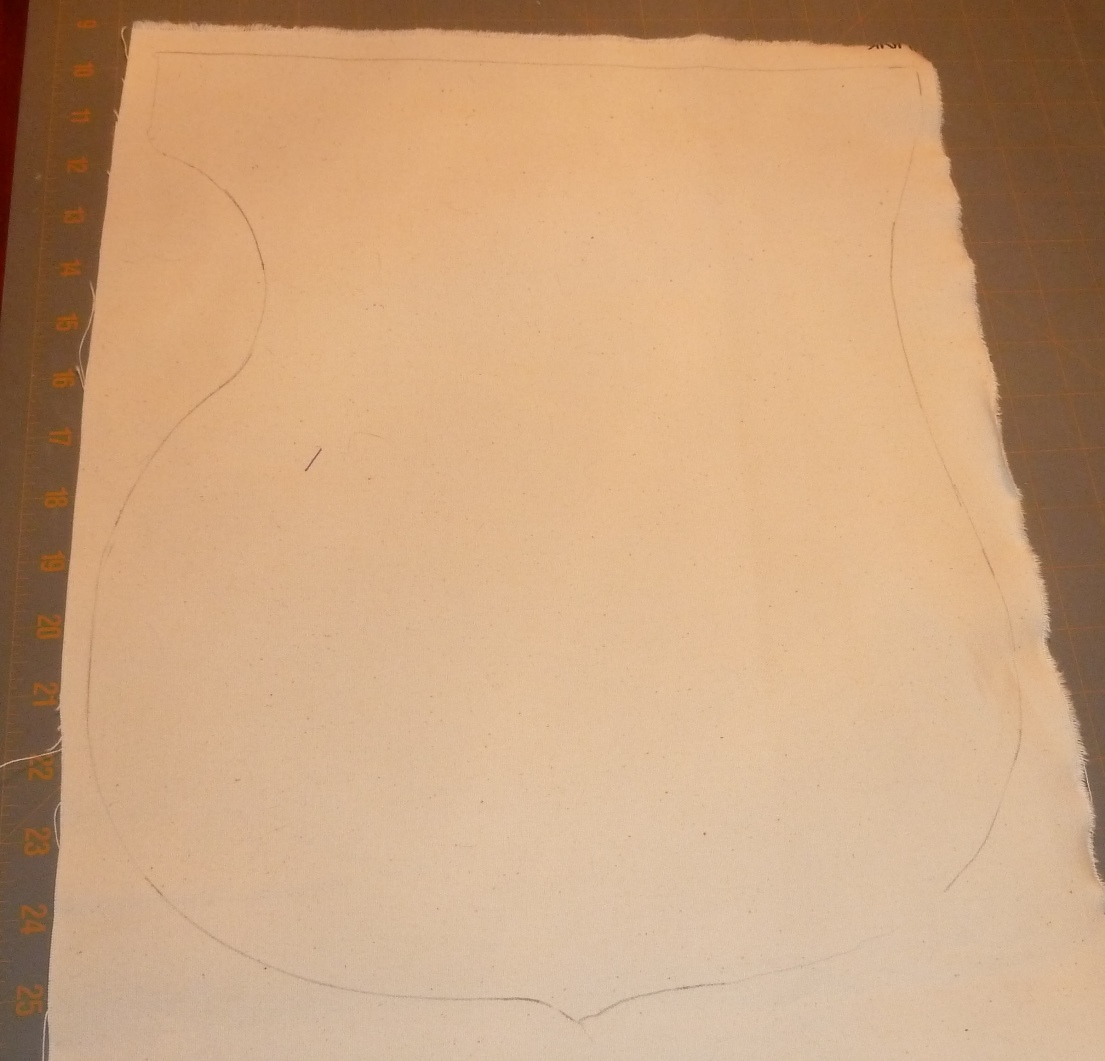
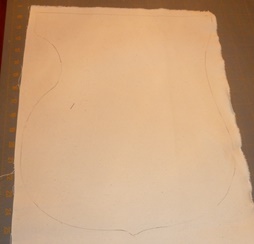
I typically glue up sheets that are 15" x 24", so I can get 2 shields 12" (wide) x 14" (tall).
Here is a glued up board that will let me get two shields. This shows my shield layout.(430kb)
|
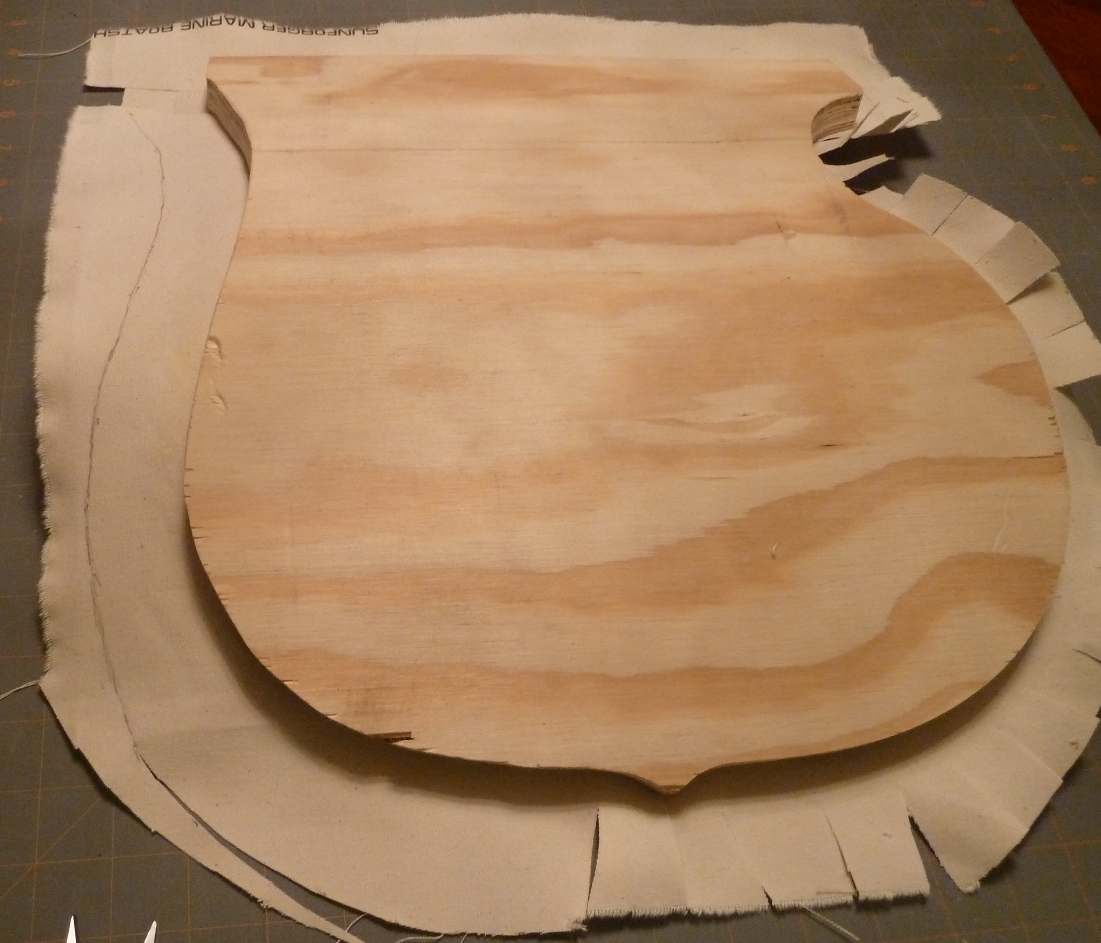
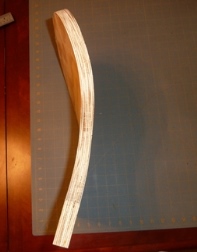
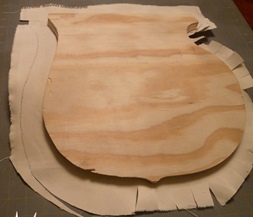
Once the big board is cut into two, draw and then cut out the shield. (kb) |
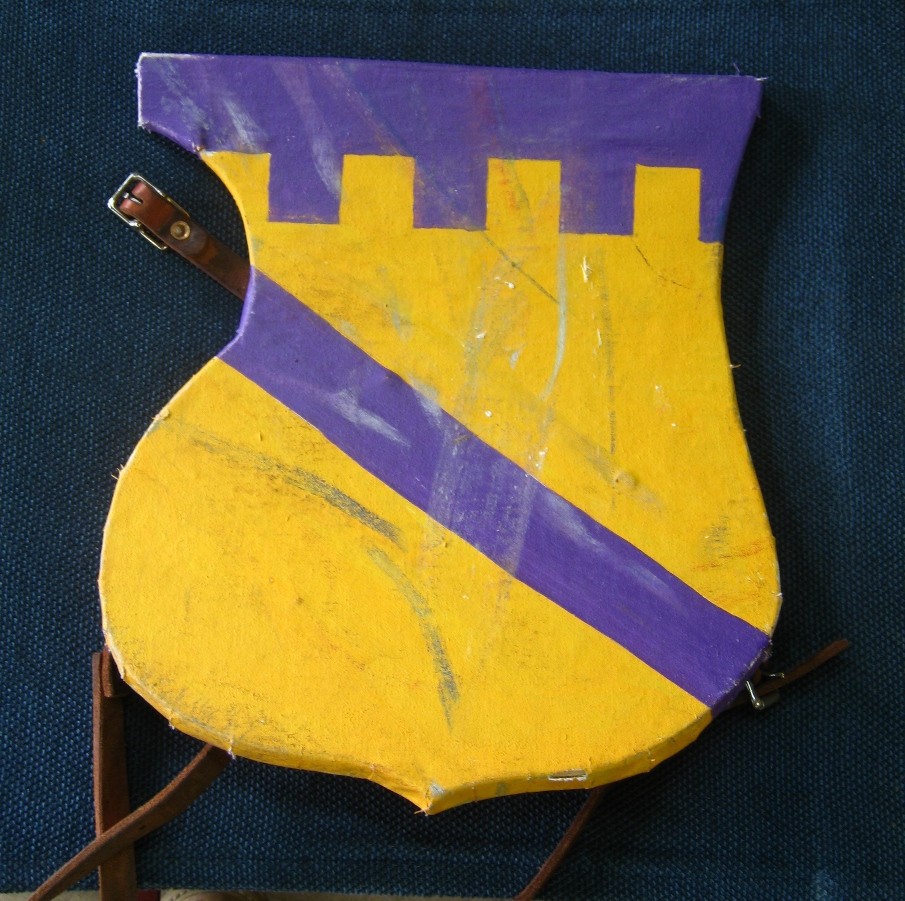
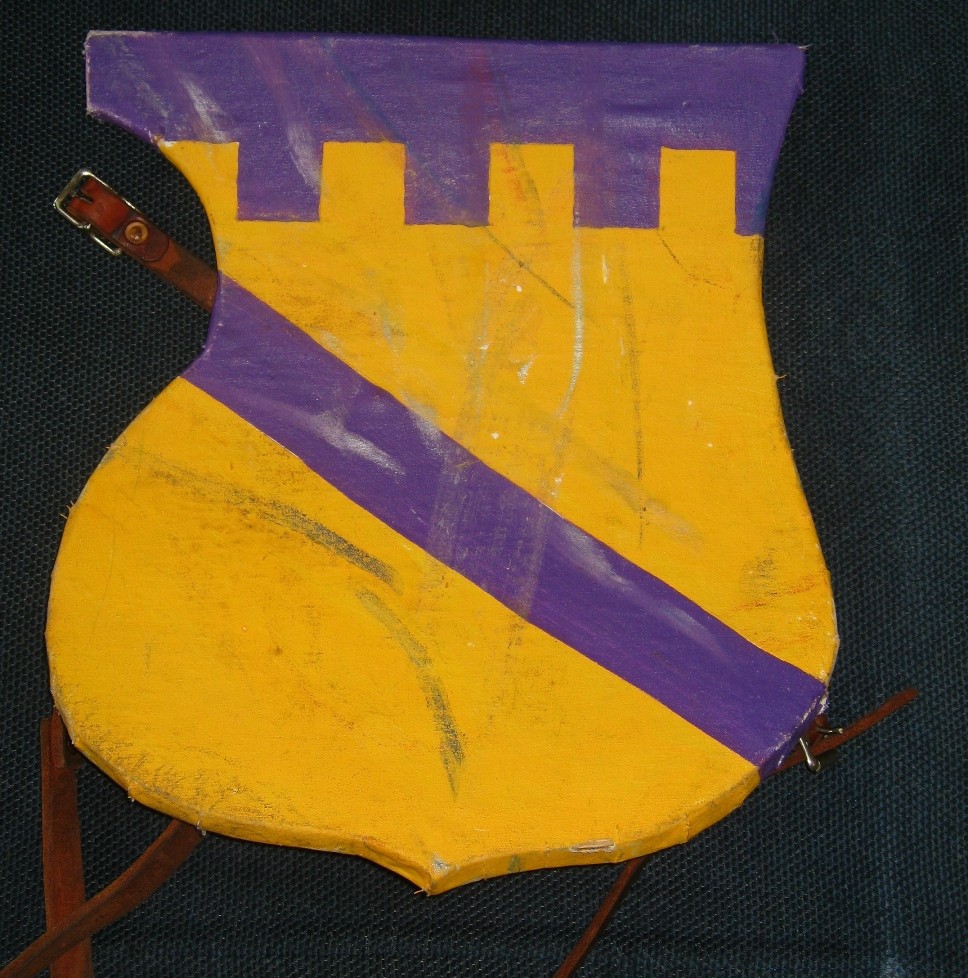
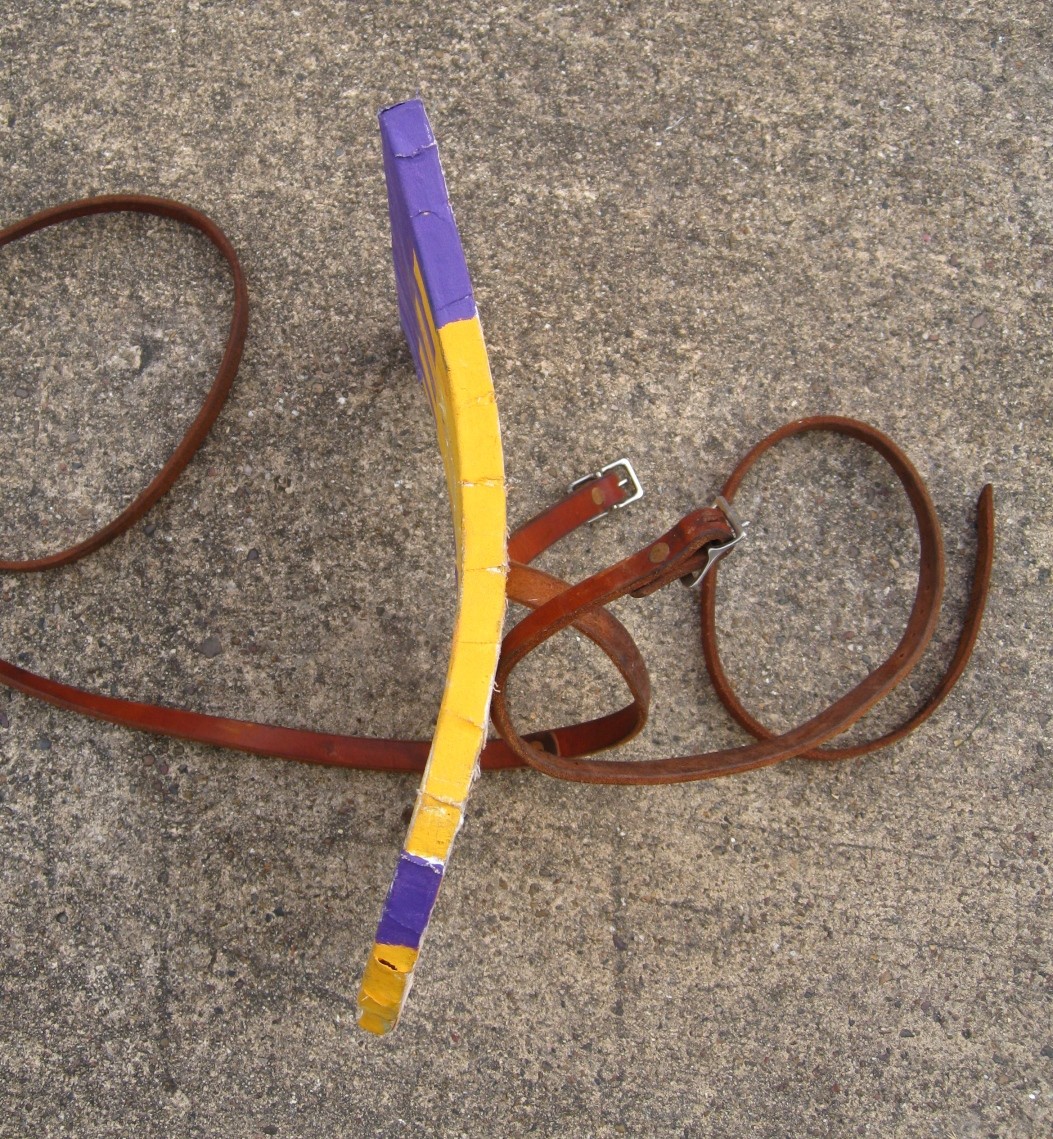
I wind up with a nicely curved ecranche. (518kb) |
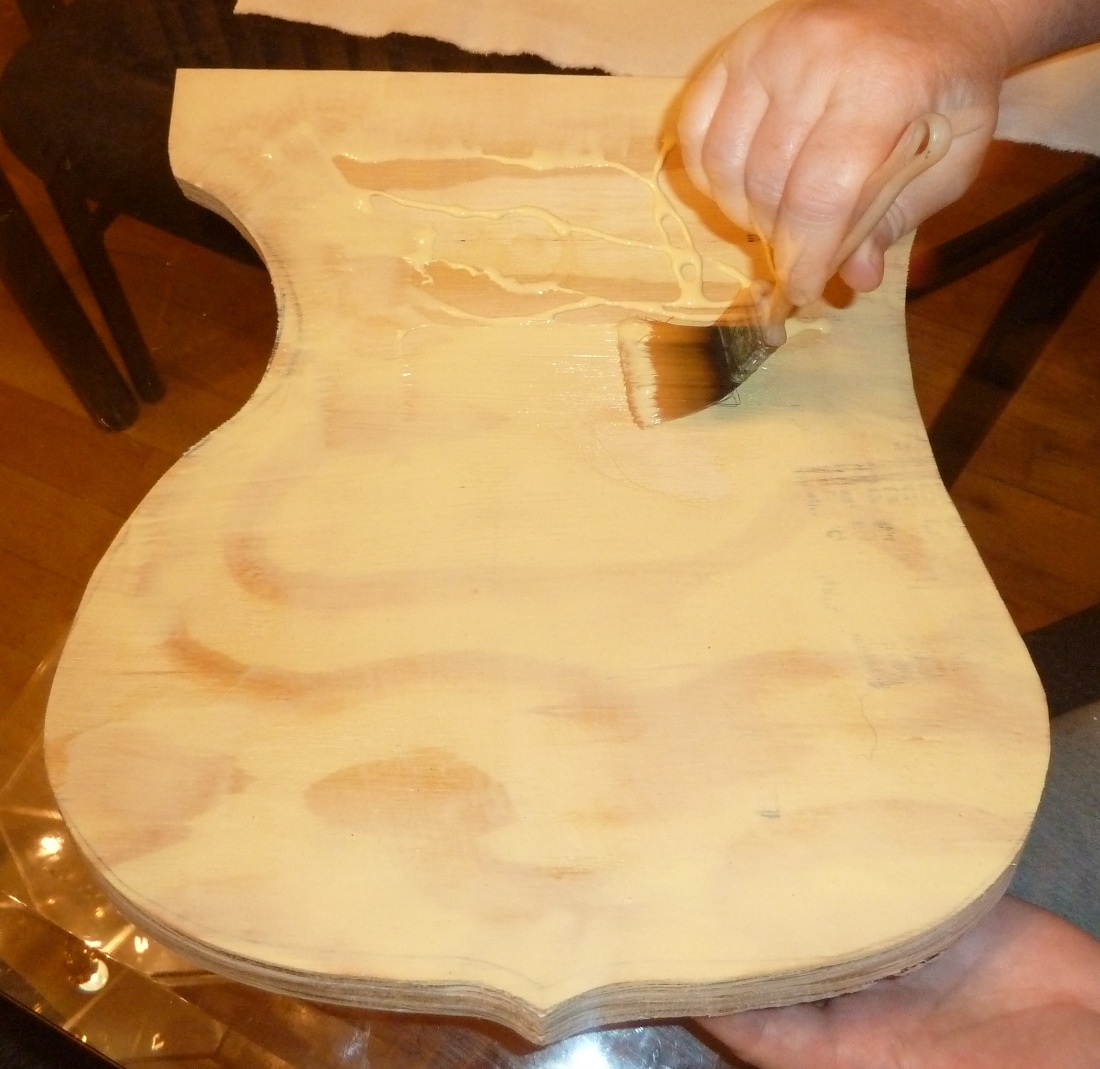
Now it is time to prep the ecranche for painting. A fabric cover (canvas, trigger, heavy broadcloth, etc.) will result in a much nicer and more durable shield finish.
|
 |
 |
 |
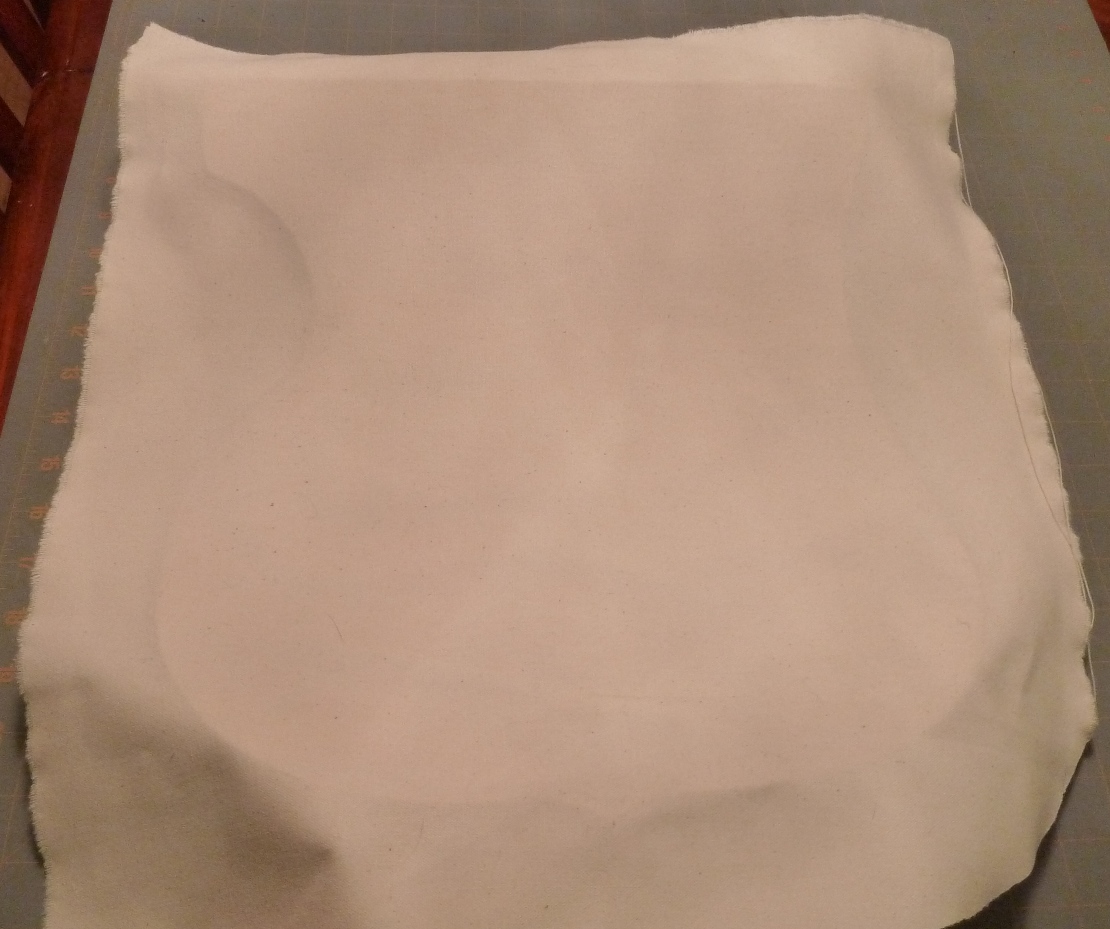
If you want the back side to look "finished", before you start gluing the fabric cover on, draw out the shape on a piece large enough to cover the back.
Set this aside. (290kb)
|
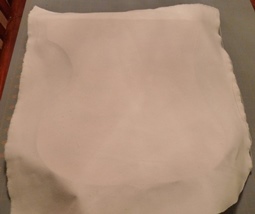
Spread glue on the face of the shield (367kb) |
Press down and smooth out a piece of fabric large enough to hang off the edges a couple inches. Let this dry overnight. |
 |
 |
 |
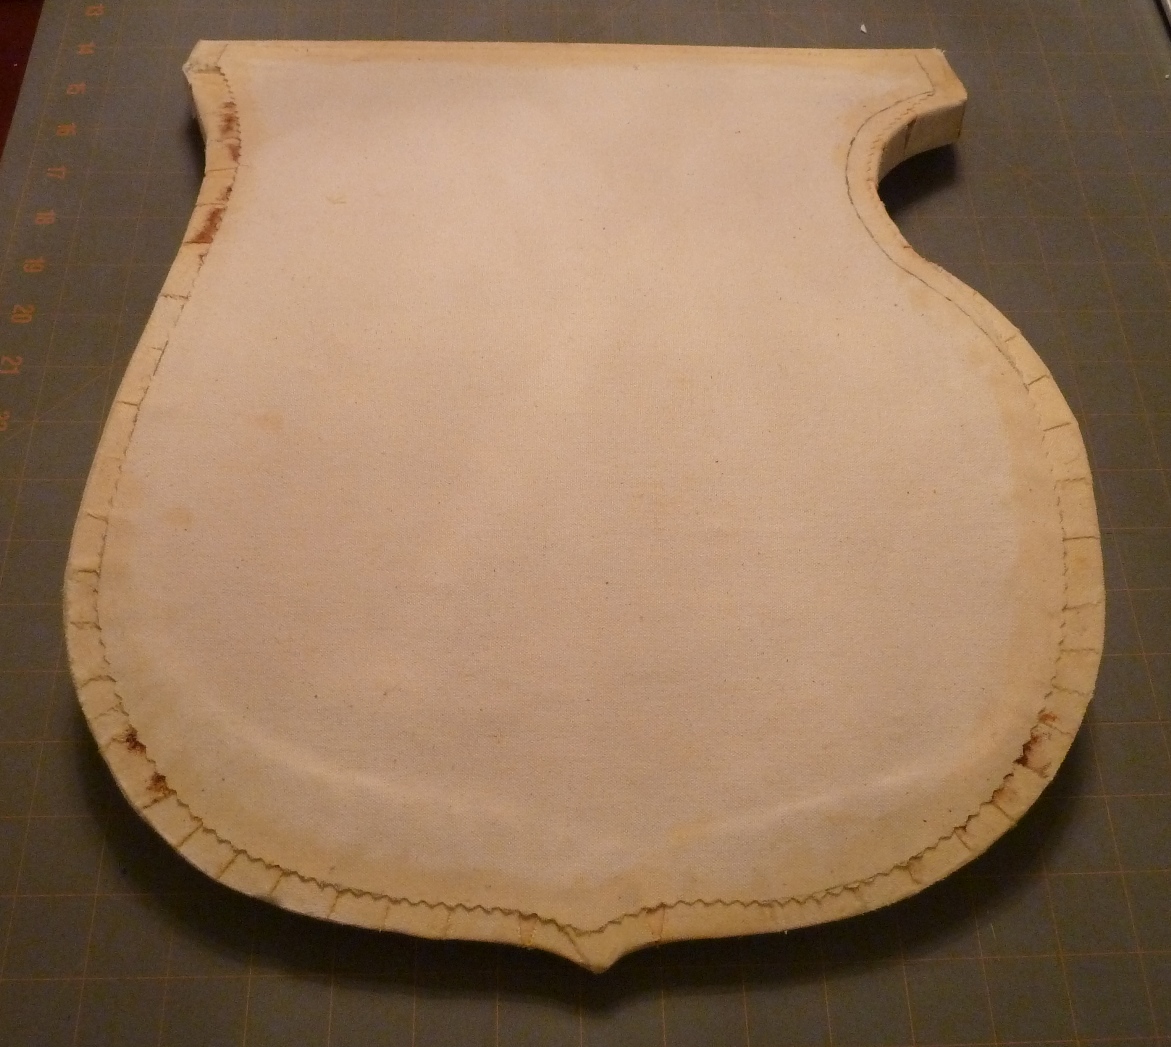
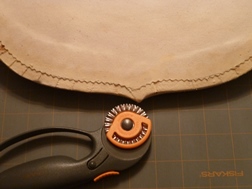
Once the front is glued down, flip the ecranche over and draw a line approximately 2 inches from the edge of the wood, and trim off the excess. This is so you can glue the fabric around over the back (348kb)
|
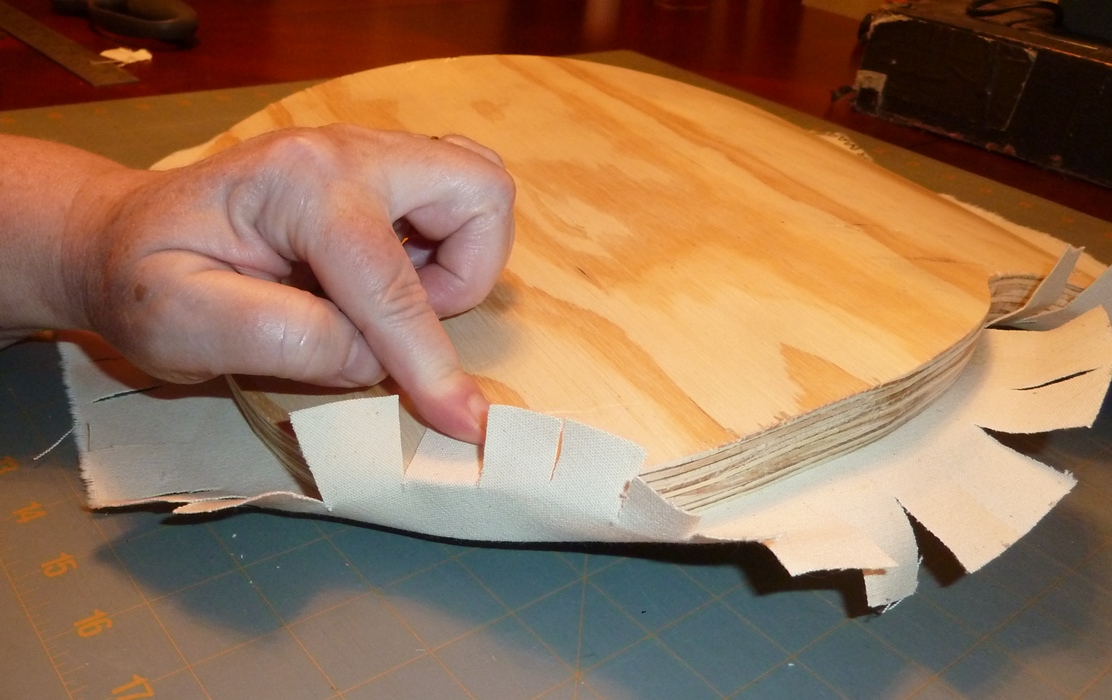
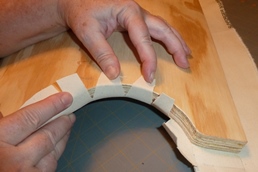
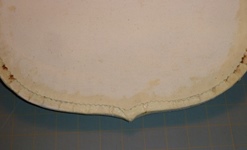
You will need to snip slots into the fabric to make it curve cleanly.
On "inside" curves, you will want to cut all the way to the front edge of the shield.
It will make open notches when folded over. (338kb)
|
On "outside" curves, you only want to cut in to the back edge. The flaps on these will overlap when glued down. (286kb) |
 |
 |
 |
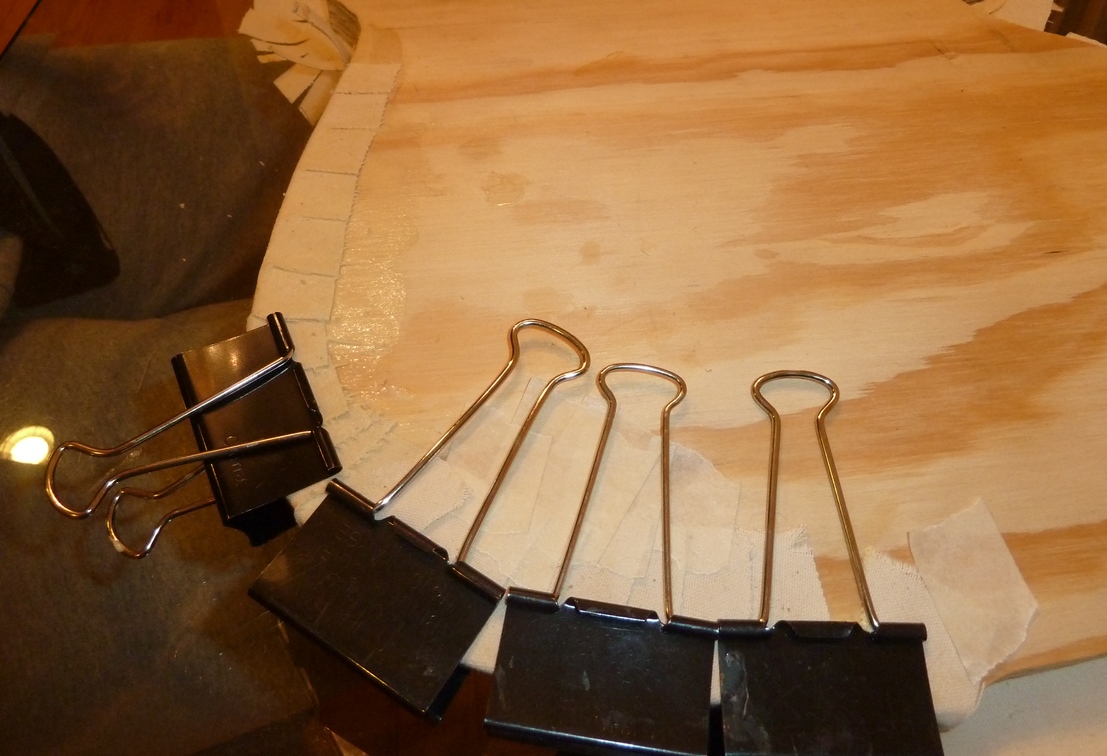
Spread glue over the edge and along the rim of the back. (311kb)
|
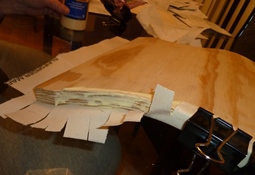
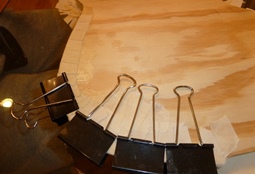
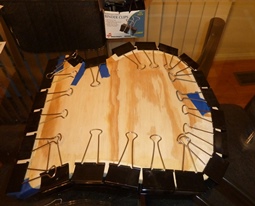
Press down the flaps, and clamp them down. A box of large binder clips is extremely helpful for this. (295kb) |
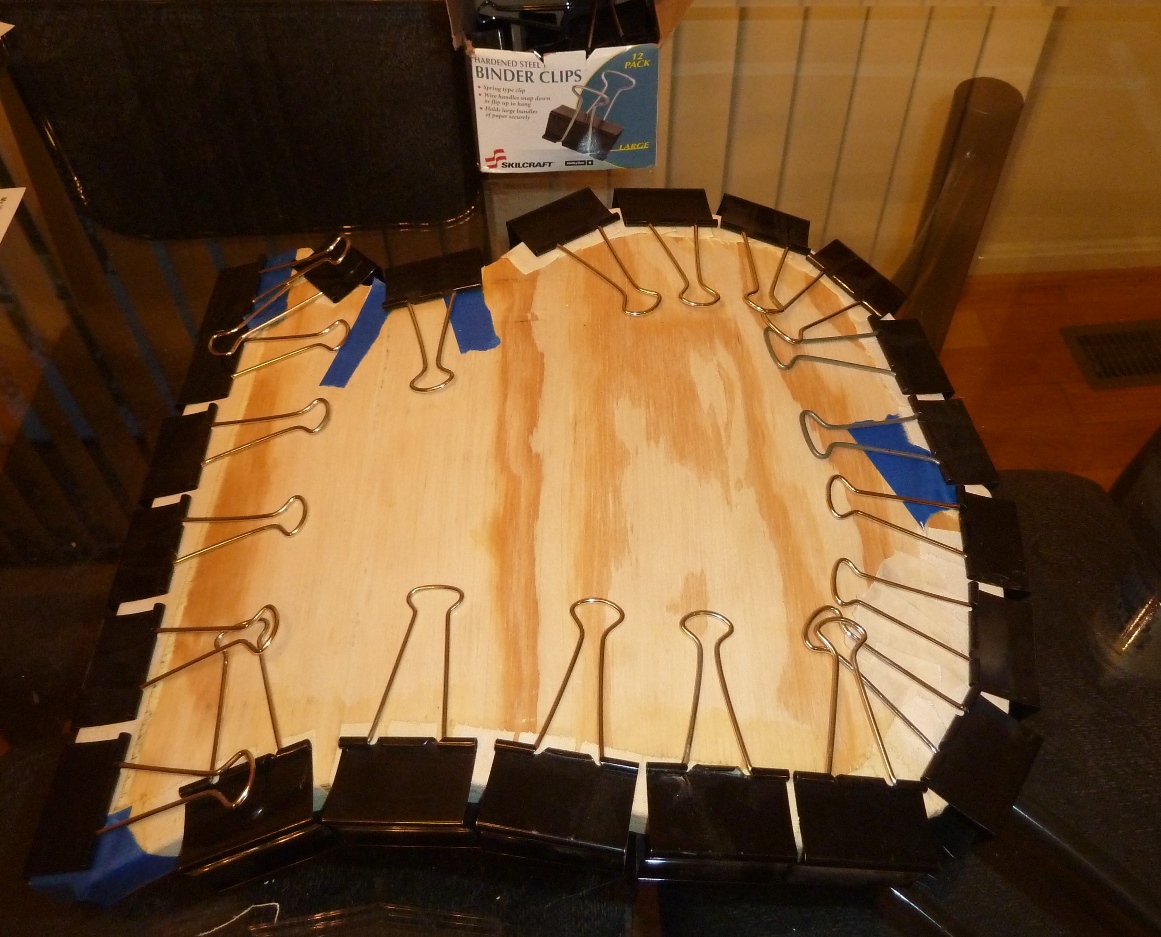
Clips all the way around the ecranche. Occasionally, you may have to tape down the flaps so you can hold some down while you work the adjacent ones. (The blue tape is some of that.) Clamp over the masking tape and then remove the tape after everything is dry. (453kb)
You can see the box of binder clips in this picture.
|
 |
 |
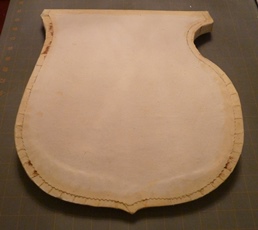 |
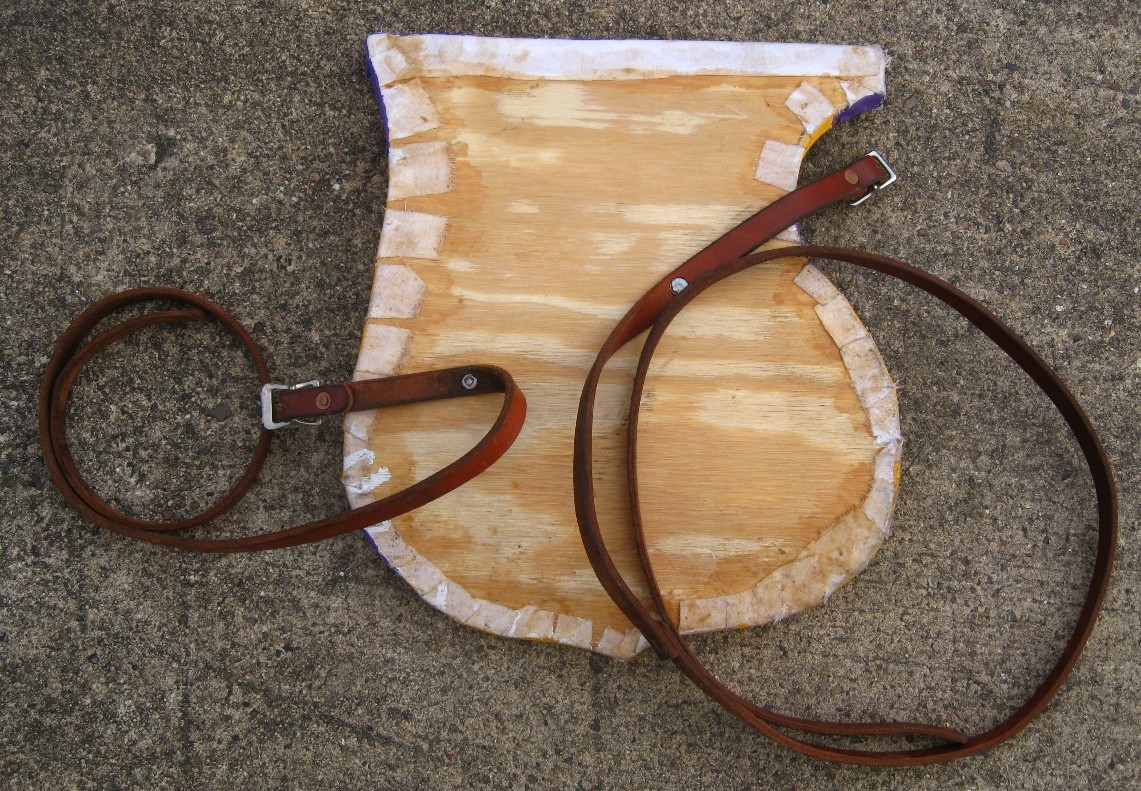
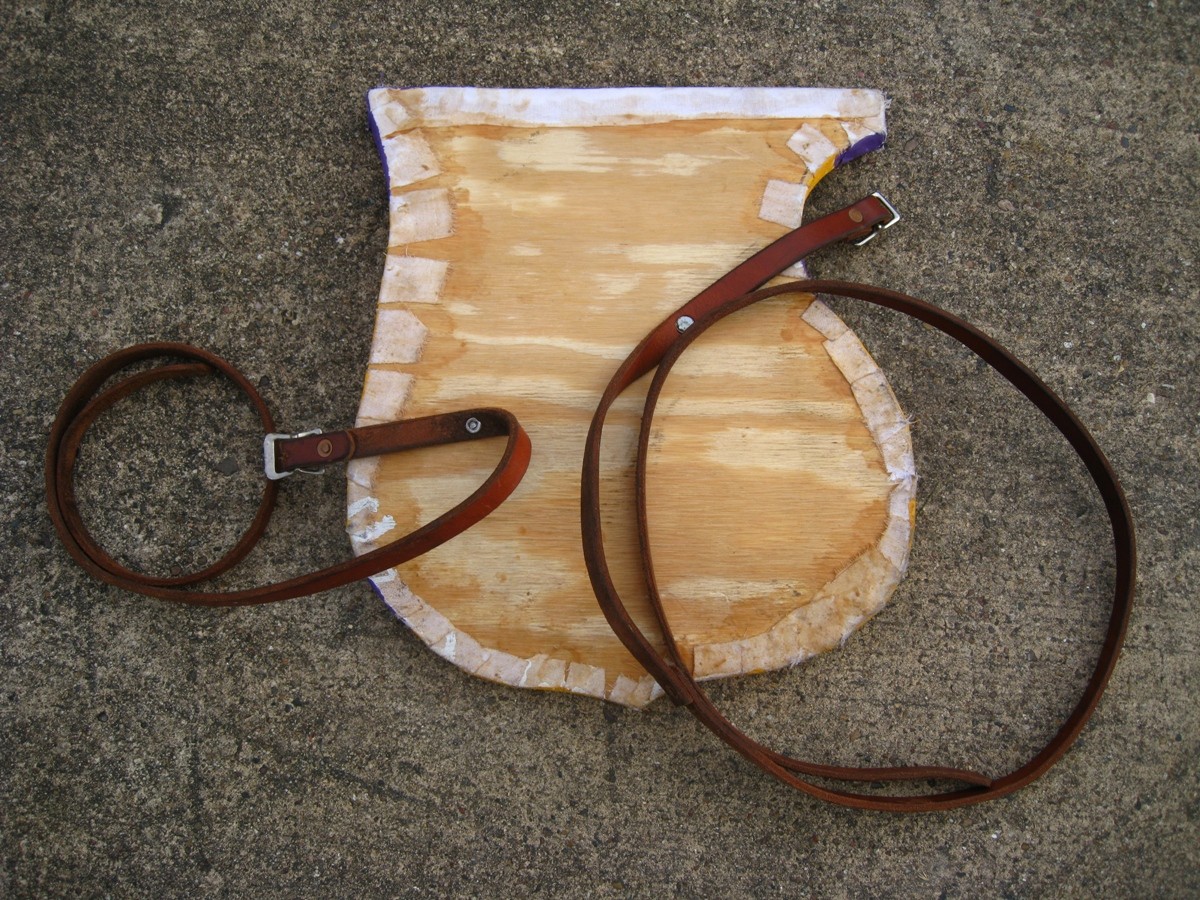
For the "finished look", cut out the piece that is the shape of the back with pinking scissors or a pinking blade. Glue down the back. (381kb)
|
The edges may need extra glue to make it stay down, and you may wind up with a "rim" of dried glue. That is OK. (315kb) |
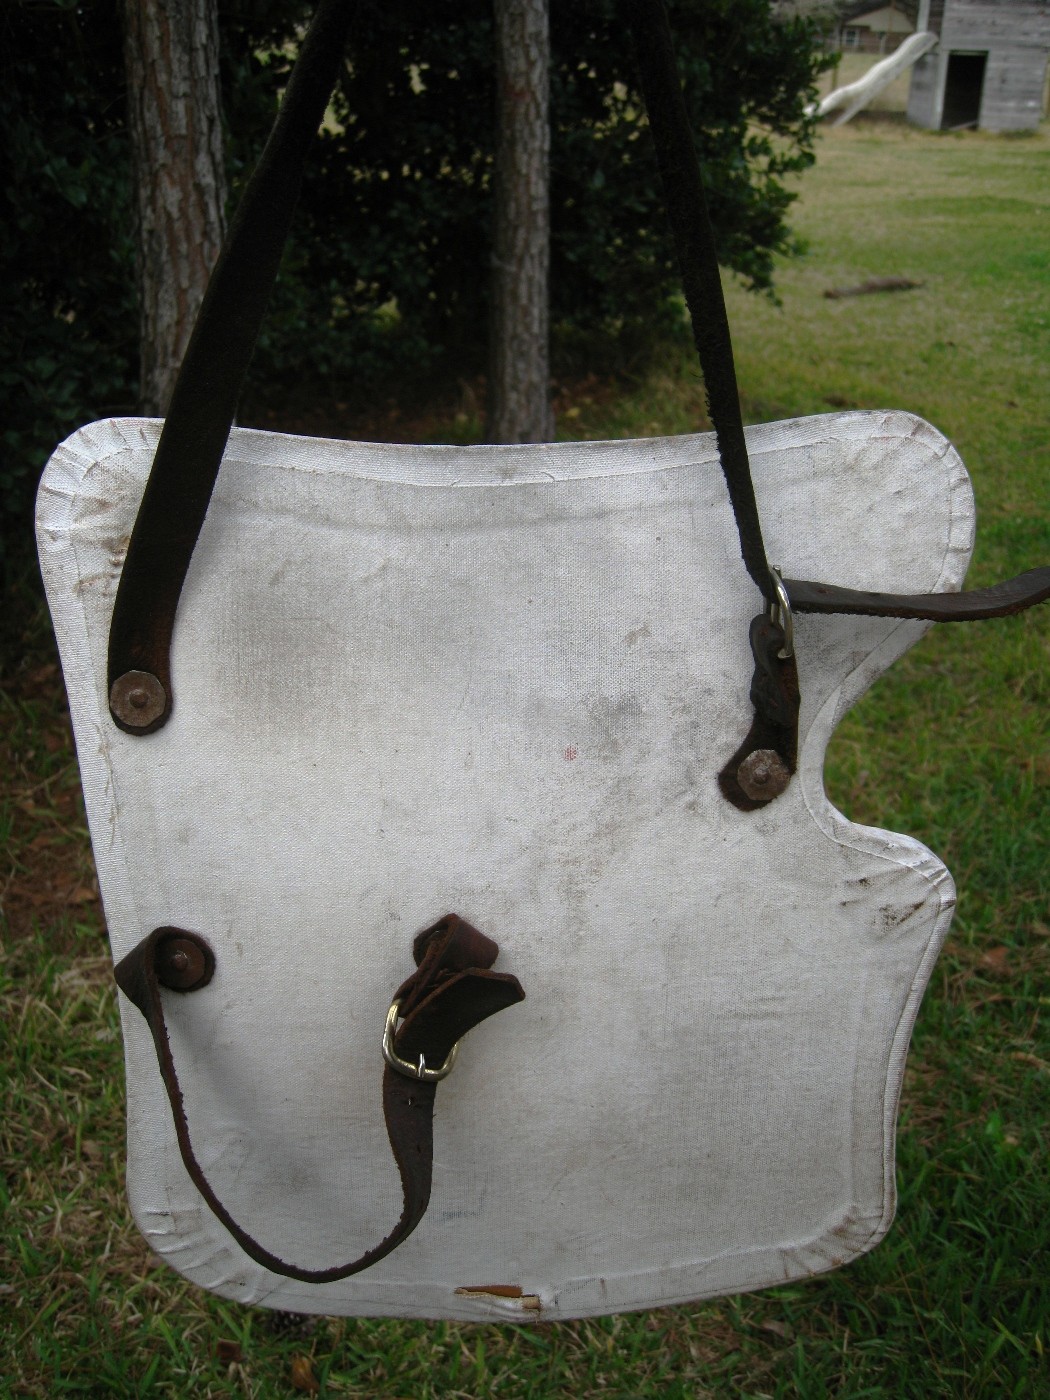
A complete shot of the finished back side. |